Paint Correction
Machine-polished clearcoat. The mirror you bought the car for.
Multi-stage compound and polish work that physically removes swirl marks, fine scratches, water spots, and oxidation from the clearcoat — restoring show-grade depth and clarity. Standard prep before any ceramic install.
What the polisher actually removes
Clearcoat fails in predictable ways. Wash mitts drag grit and cut tiny rotational scratches — those are swirls. Tree sap, hard water, and bird etching dig pits. UV oxidizes the top few microns until the color reads dull under daylight. None of this comes off with another wash.
A polisher fitted with the right pad and compound removes a controlled, micron-thin layer of clearcoat — flattening those defects until light reflects off a clean plane again. Done well, the mirror comes back. Done poorly, the clearcoat thins or burns. This is why paint correction is professional shop work and not driveway work.
The standard sequence — included in every stage
| Step | What happens |
|---|---|
| Strip wash | Two-bucket method with foam cannon to remove waxes and sealants. |
| Decontamination | Clay bar plus dedicated brushes pull embedded contaminants from paint, glass, and wheels. |
| Correction | Machine polishing — one, two, or three stages depending on the package. |
| Finishing polish | Refines gloss and removes any micro-haze from the cut. |
| Protection | Sealant or, if requested, ceramic coating. |
Choosing the right stage
If you intend to coat the vehicle in ceramic after, a 2-step is the standard — the coating only locks in the surface beneath it, so flaws under a coating are flaws forever. For a daily driver getting refreshed without a coating, 1-step is usually the right call. 3-step is for vehicles that justify it: luxury paint, show entries, neglected high-end finishes.
Step by step, measured at every stage.
- 01
Inspection under raking light.
Panel by panel under fluorescent and halogen, plus a paint-thickness gauge reading. We measure clearcoat depth before and after — micron-tracked, not eyeballed.
- 02
Wash and decontamination.
Strip wash plus iron remover and clay bar. The compound has to act on bare clearcoat, not on the contamination above it, or you trap the contamination underneath the cut.
- 03
Test panel.
A hidden panel gets the proposed cut/polish combination first. We prove the combo works before applying it to a fender you can see from the driveway.
- 04
Compound stage.
Heaviest cut, lowest stage count we can get away with. Pulls deep swirls, water etching, and oxidation without taking more clearcoat than necessary.
- 05
Polish stage.
Finer pad and finishing compound to clear the micro-haze the cut leaves behind. The surface that gets sealed or coated is the surface forever — flaws underneath are flaws locked in.
- 06
Final inspection and IPA wipe.
IPA wipe pulls polishing oils so any remaining defect shows true. Anything that re-appears under the lights gets another pass before sign-off.
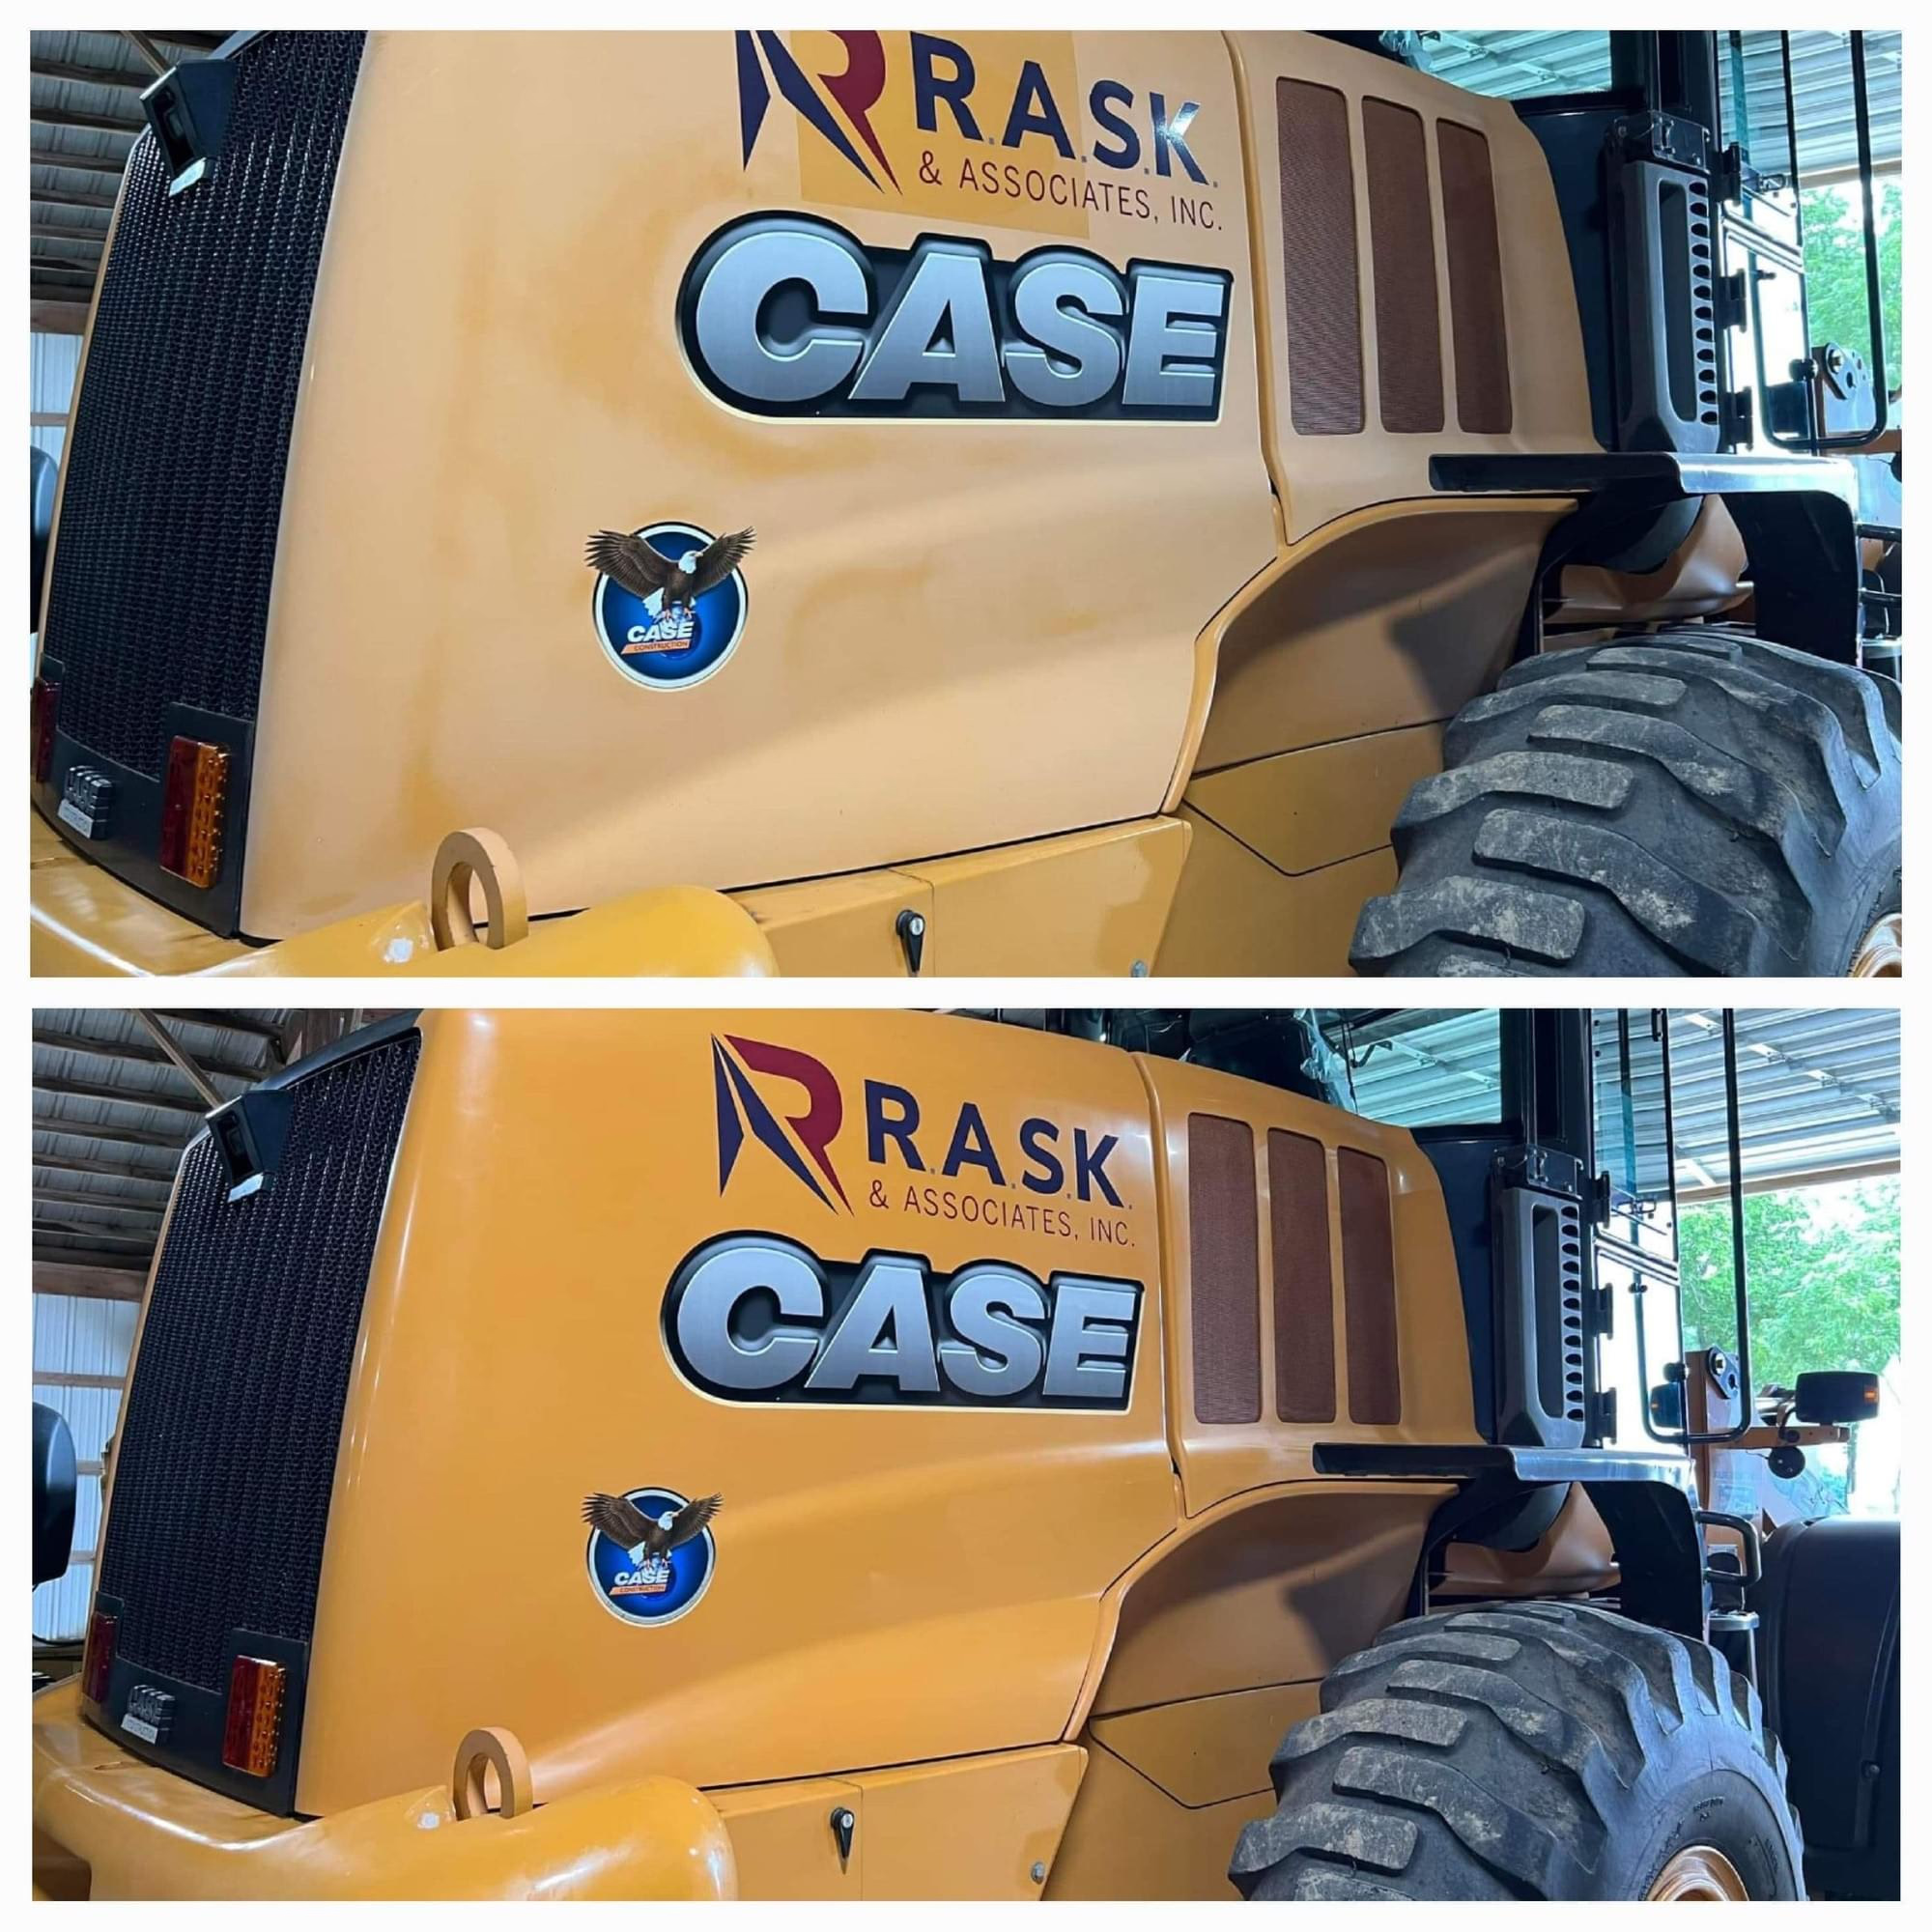
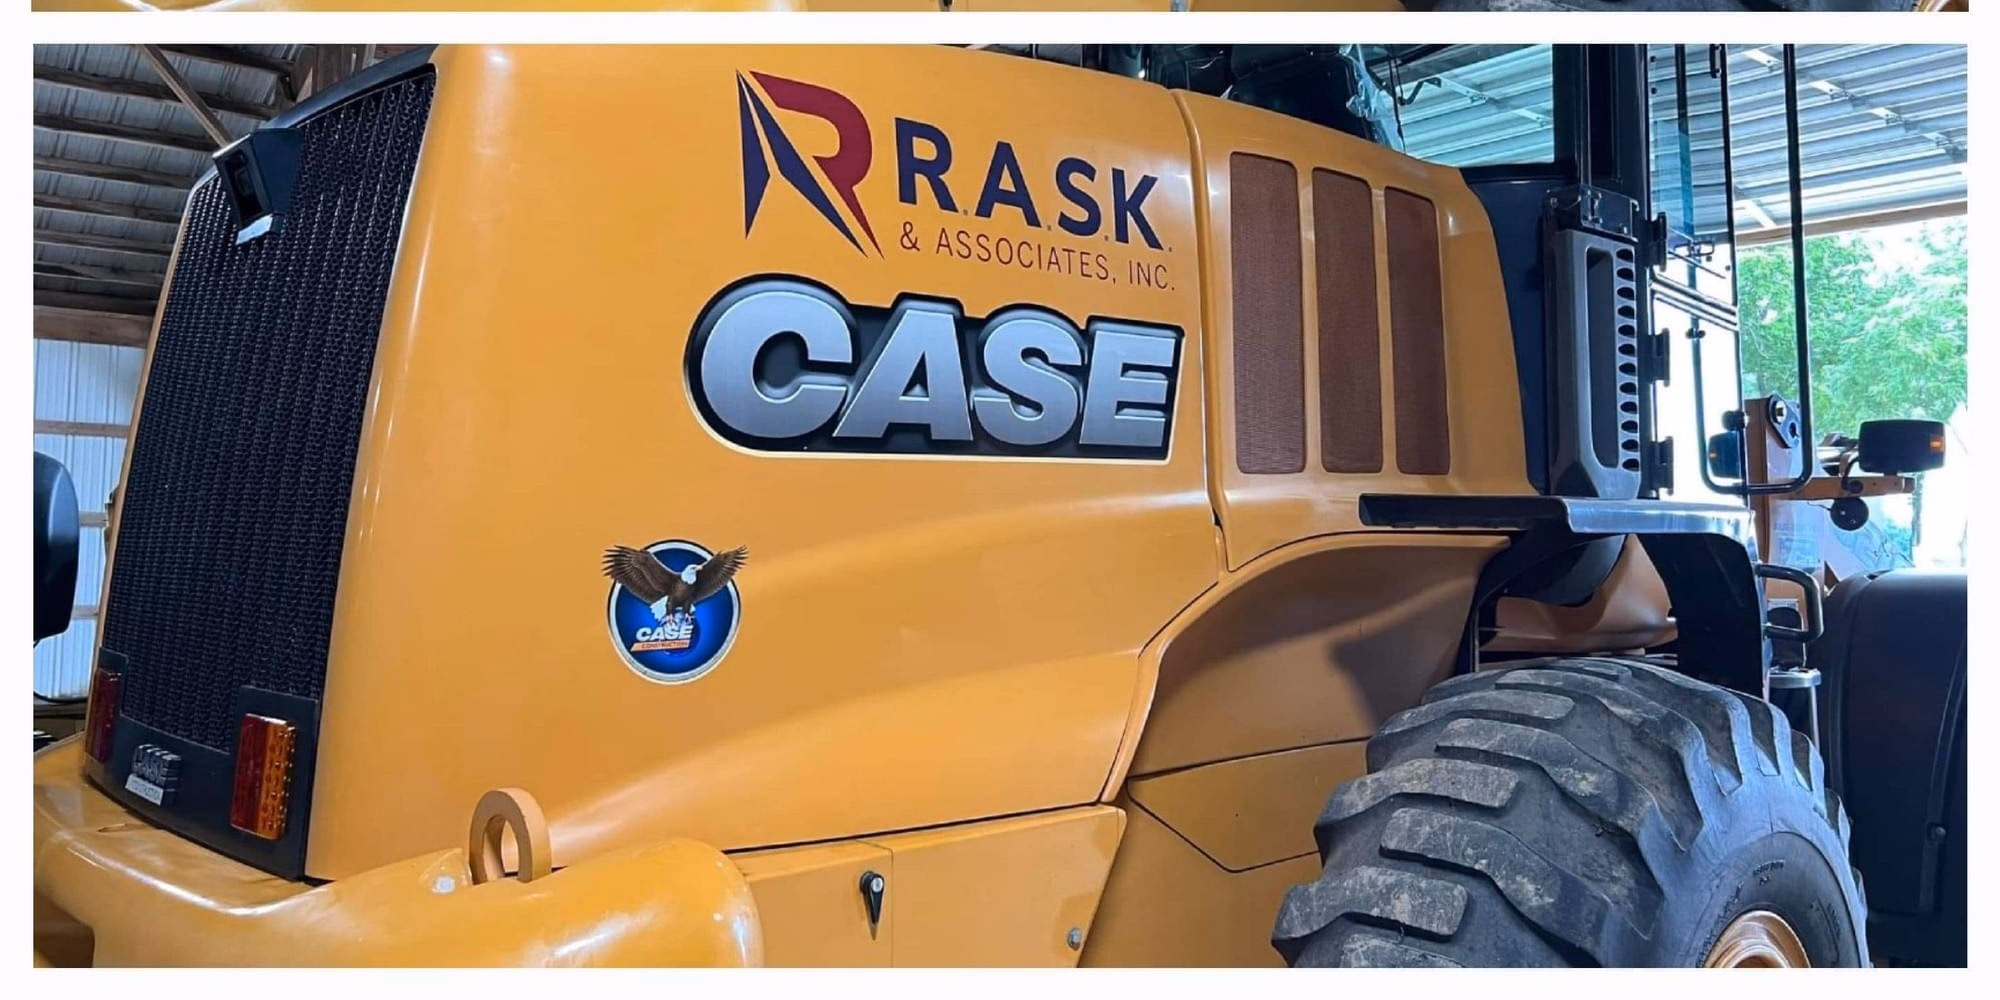
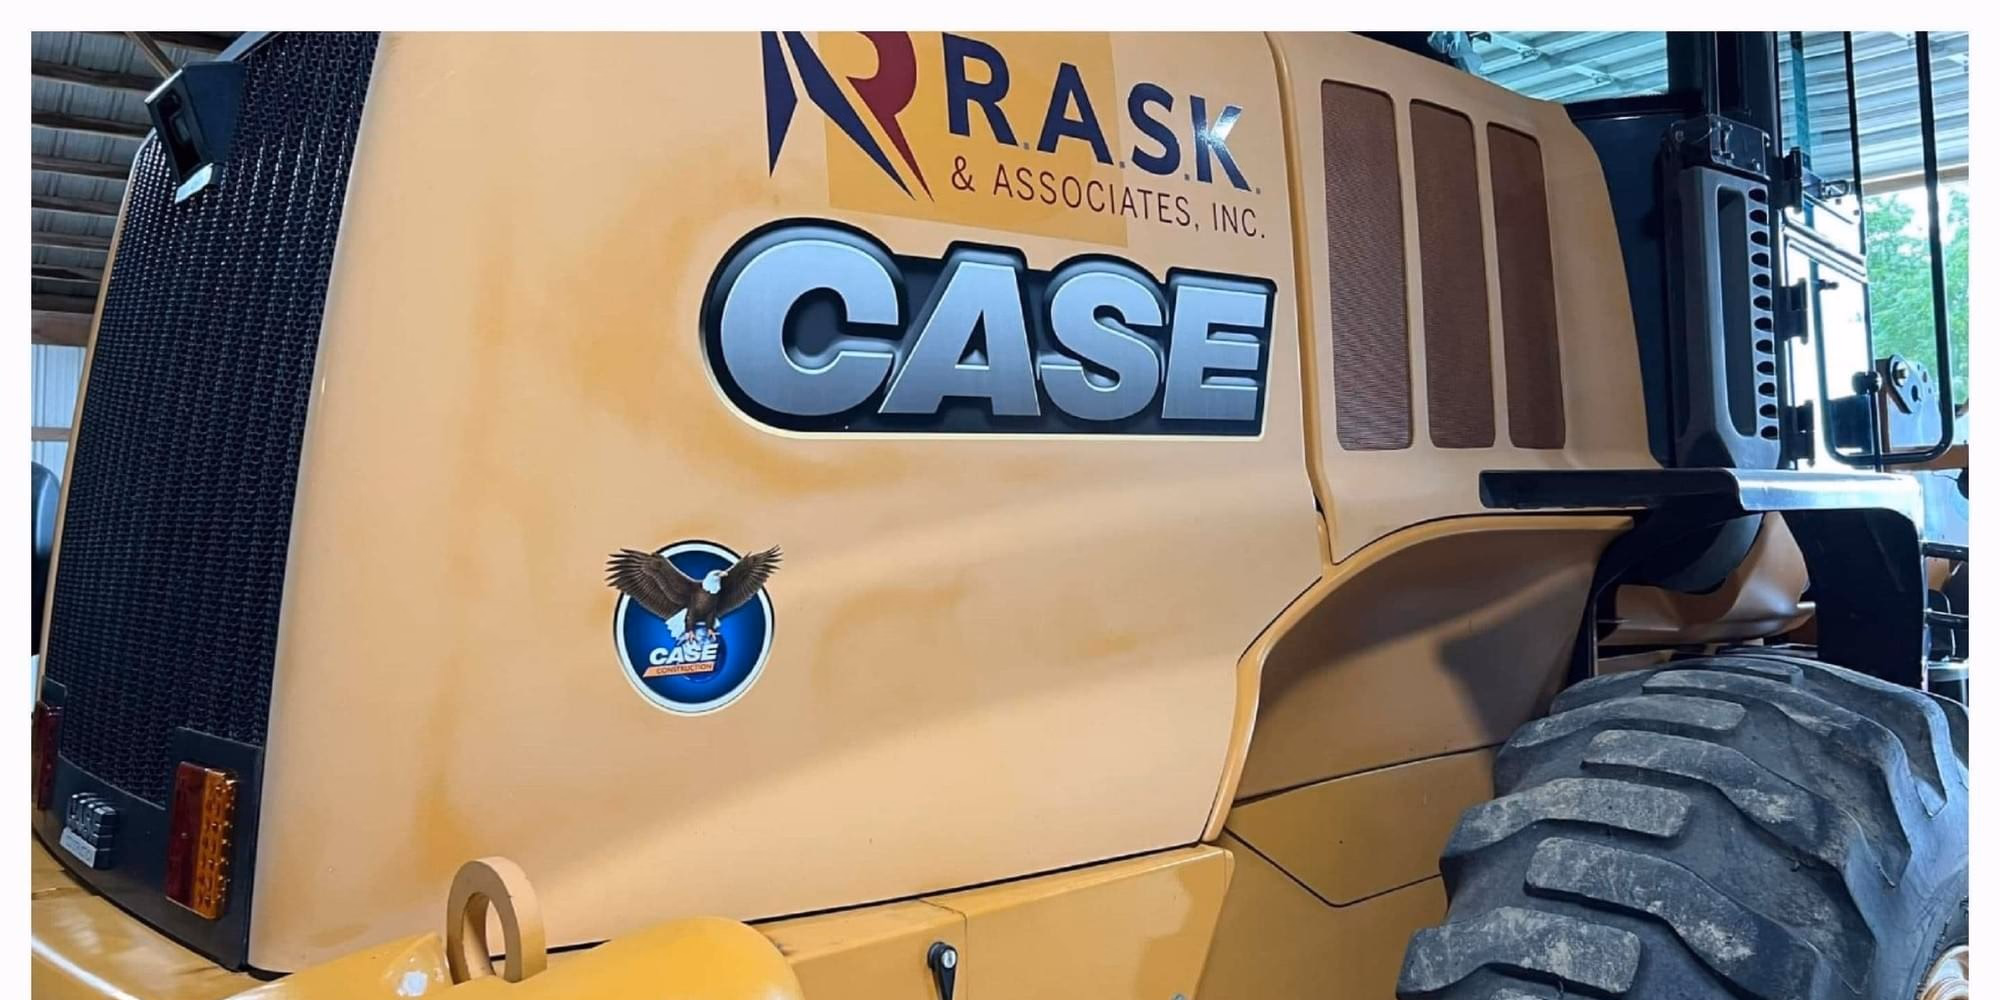
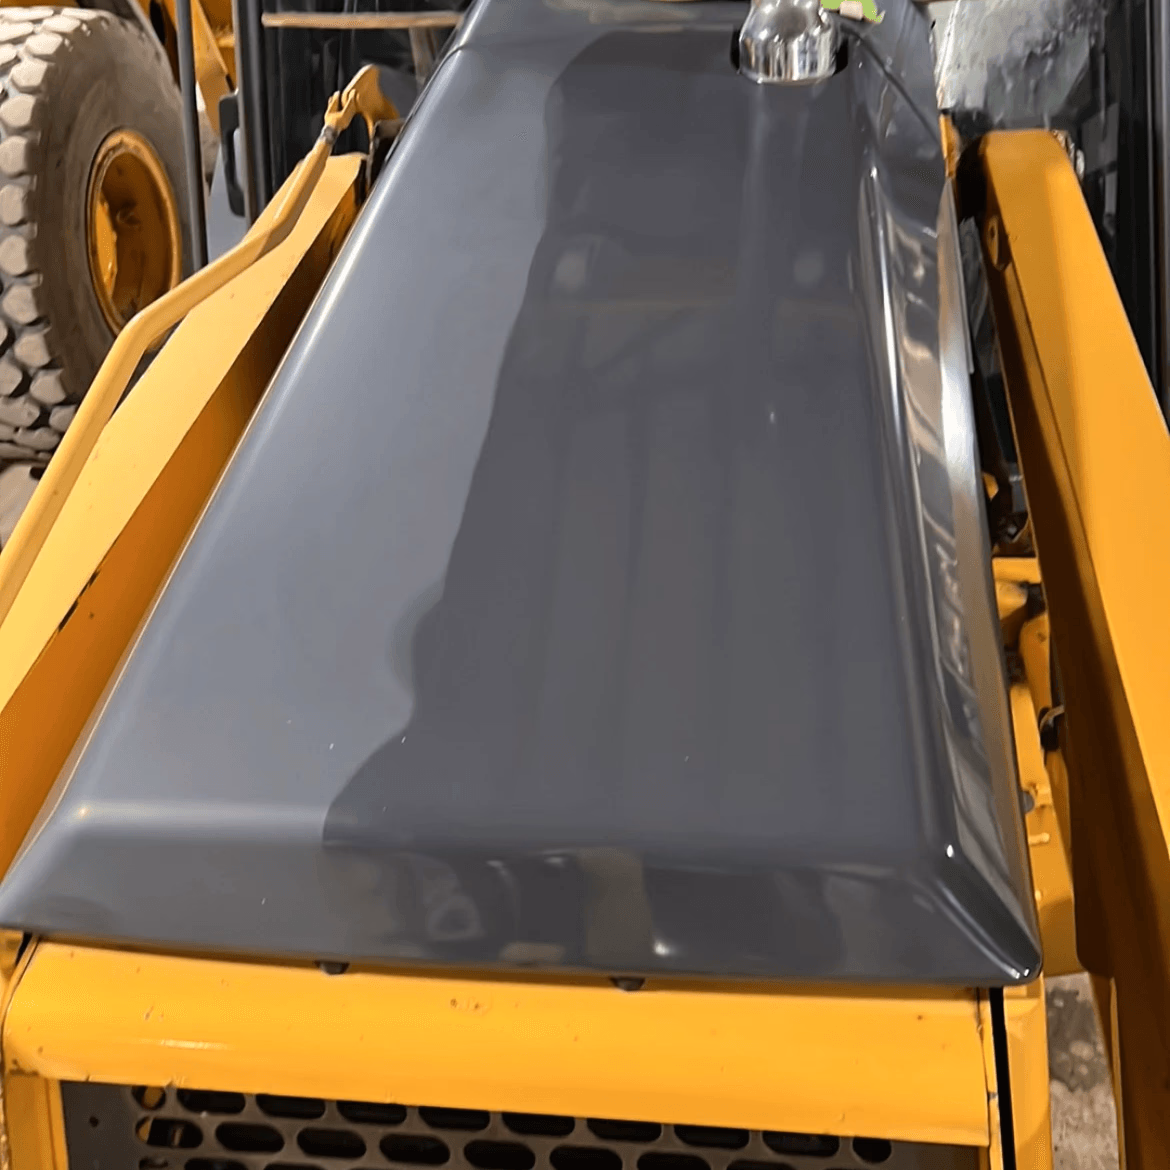
Same panel. Before and after.
Case wheel loader hood, photographed twice from the same camera position. Left is the factory finish after years of UV. Right is the same panel after wet sand and multi-stage paint correction.
Packages
- 01
1-Step Correction
Light-to-moderate flaws — swirl marks, light scratches, oxidation. A single machine pass with a mild abrasive compound. The cost-effective option for refreshing a daily driver.
- 02
2-Step Correction
Adds a finer second pass after the cut. Lifts gloss, color depth, and clarity beyond what one step achieves. Recommended prep before a ceramic coating or PPF install on premium vehicles.
- 03
3-Step Correction
The most aggressive stage — three progressive passes from heavy cut to finishing polish. Reserved for heavily marred paint, luxury finishes, and show-car prep.
Paint Correction. Signed off.
A working portfolio — every photograph is real work that left the McCordsville bay or rolled away from a job site signed off by Cecil.
Tell us about your vehicle.
Send a few details and we will reply within one business day. Need to talk now? Call (317) 604-9904.
Starting from Paint Correction · you can add more below